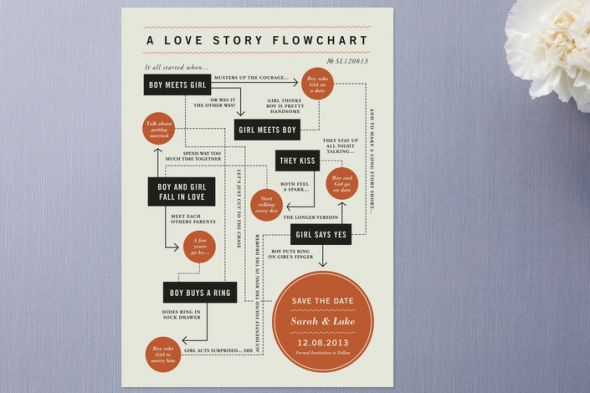
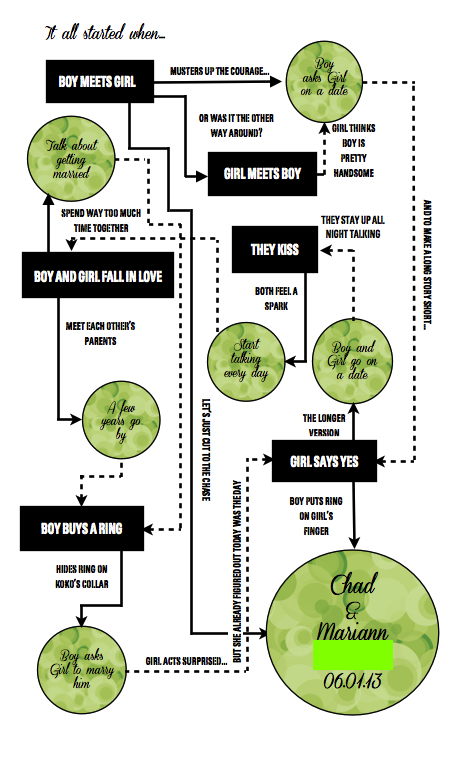
I totally saw this flow chart save the date here and decided I had to have one of my own. Unfortunately, I am not skilled at creating but am extremely skilled at copying! I decided my flowcharts would be 8.5x5.5 so I could just slice a bunch of 8.5x11 cardstock in half in order to print them. Of course I changed the colors here and there to fit our color scheme and my fonts are not exactly the same because, again, I was copying it. It took me about two hours to figure it out and arrange. If you're interested in making a flow chart here is what you would do (in Pages):
1) Decide your flow chart size and use Page Setup so that your "canvas" is already prepped to size.
2) Using Shapes you can decide what type of shapes you want to grace your flow chart. I just stuck with rectangles and circles because I liked the look of the original.
3) Double click your shape to type inside. Using the Inspector, click on the Wrap tab and make sure that you have selected "Floating (doesn't move with text)" and unselected "Object causes wrap" for each shape. Using the Text tab, you can select spacing and alignment of your text.
4) Click Insert > Shape > Line or Line with Arrowhead in order to begin drawing the flow of the flow chart. I used the Metrics tab on the Inspector to make sure everything was at a 0 or 90 degree angle and sometimes to make sure my lines matched up at the corners. If you wanted a dashed line, you need to click on the Graphic tab on the Inspector and selected the dashed line. You can also select lines like crayon or marker. You can even change the color of the lines. Using the Graphic tab lets you change the color or fill of your shapes as well.
5) Arrange everything to your liking!
Anyways, here is the original:
and here is my copy (and I am warning you, it is a blatant copy):
Enjoy!
Sincerely,
Ms. Koloa


No comments:
Post a Comment